Showing posts with label Show & Tell. Show all posts

Saturday, 24 January 2015

Grow Your Blog Party 2015 - Welcome!

Hello Gorgeous!

Thank you for visiting my paint-filled, splooshy corner of the blogosphere and WELCOME one and all! It's the epic and legendary 'GROW YOUR BLOG PARTY 2015' !! Hurrah!!

http://vicki-2bagsfull.blogspot.co.uk/2014/11/grow-your-blog-2015-party-this-is.html


My name is Rachael but I'm known as 'Shroo'. I live in the middle of varied and wonderful landscapes here in the UK, equidistant from the wild beauty of seas, rivers and lakes, farmland and wild protected areas of stunning rural splendour, and the quirky urban towns and villages that nestle linked by this natural beauty.


I live with my black cat, Harvey, or to give him his full title - Count Harvelstein Fluffpants III. He likes to be addressed as 'The Colonel' and has many adventures. He puts up with me and reminds me on a daily basis how fortunate I am that he allows me to cuddle him, wrap him in warm blankies, buy him funky toys and feed him his nippits (biscuits).


I love to be surrounded by interesting and beautiful things, bright colours, books and artwork as it keeps me inspired. I've been an artist since I was a baby, holding my first pen, but life led me away from my joy of all things arty for many years, replacing it with the more mundane and practical aspects of adult life. Recently, however, I've been moved to rediscover my artistic heart and fill my life anew with all things colour - paints and pencils, inks and papers - and what a joy it has brought me ....and it's rescued me in so many ways

I started my blog a couple of years ago and discovered the wonderful people that are part of this online community. They're an inspiration to me every day. I took a break last year after my mum passed away but returned at Christmas to begin again. I invite you to join me in my arty journey through life as I test out my skills and learn new ones and share them with this amazing arty family.

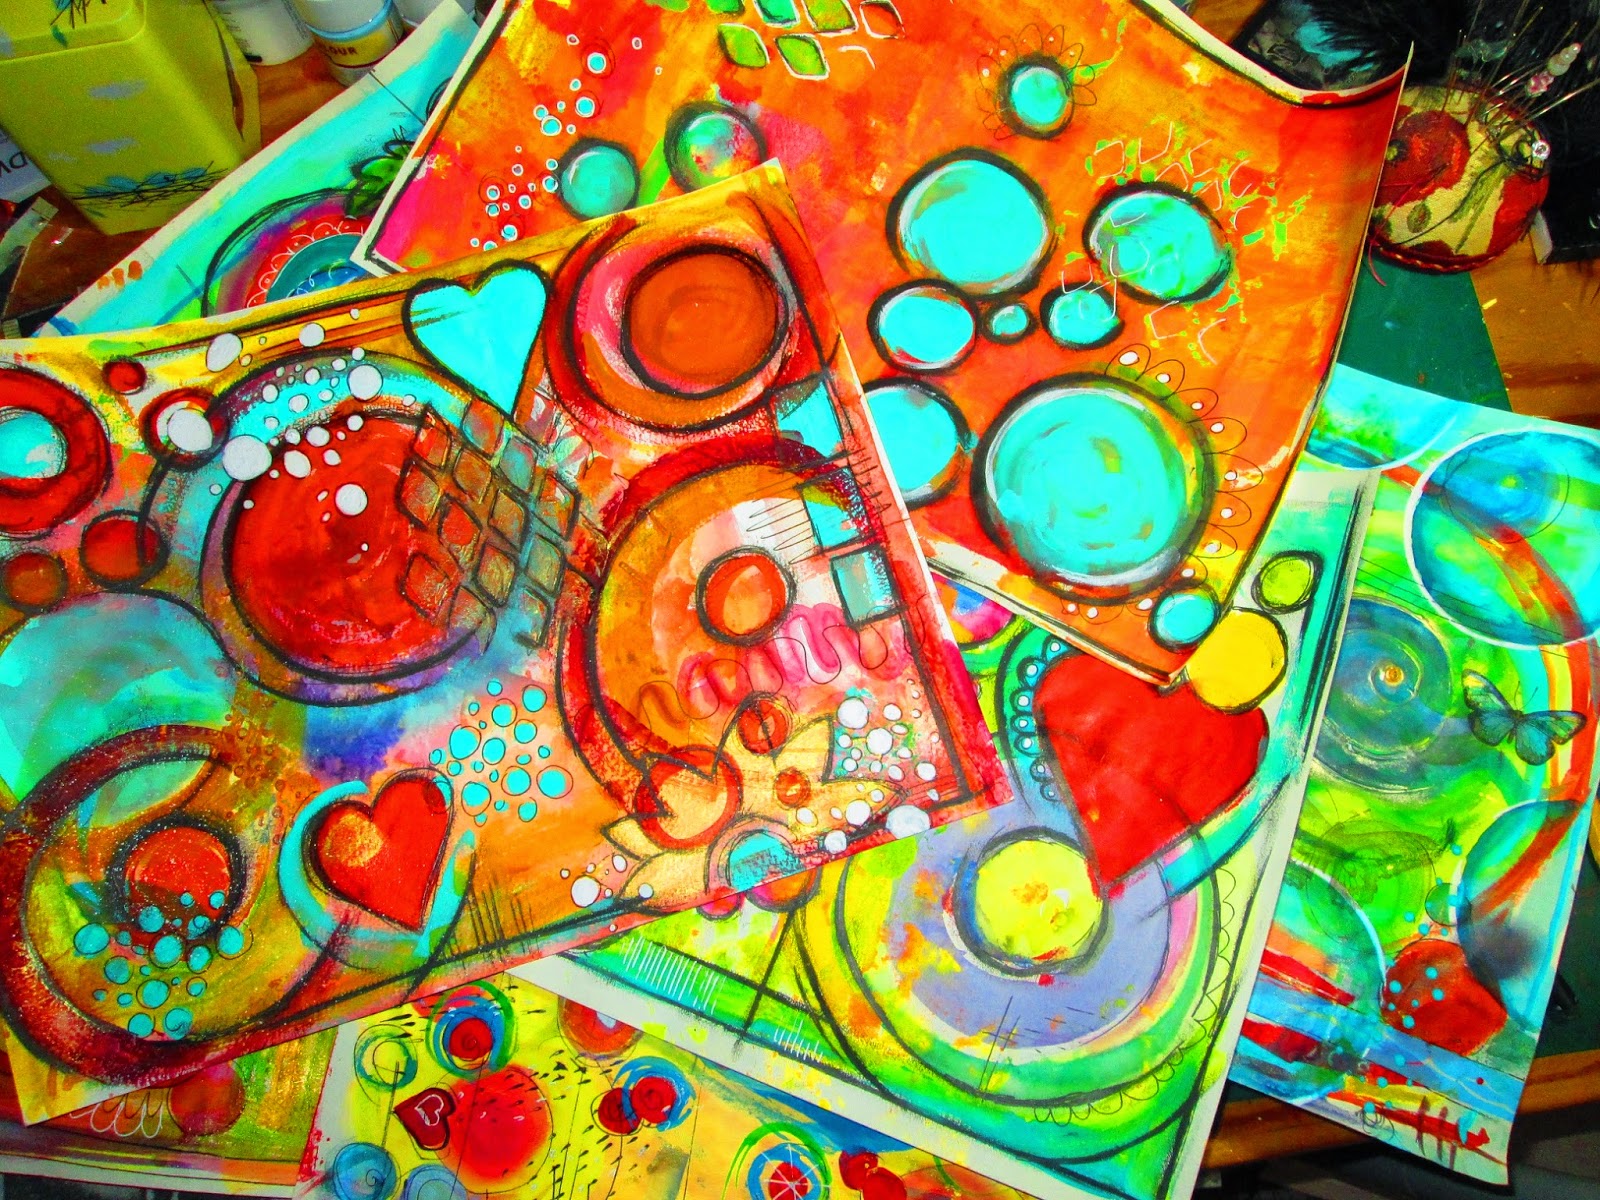
A little bit about my art.... I'm a mixed media artist and illustrator. I work intuitively which means that I rarely plan a project, rather I just sit down surrounded by supplies and just throw things onto paper or canvas (or whatever!) until it looks right to me. I am a journaler, and this year I'll be sharing my own journaling progress as well as encouraging my readers to join in with their own life recording process. I'll provide exercises and examples and encouragement in bucket-loads. Here are some of my journal pages. You can see more in my other blog pages or click the pics to see other blog pages and galleries.

http://artyshroo.blogspot.co.uk/p/gallery.html

http://artyshroo.blogspot.co.uk/p/gallery.html

http://artyshroo.blogspot.co.uk/p/gallery.html

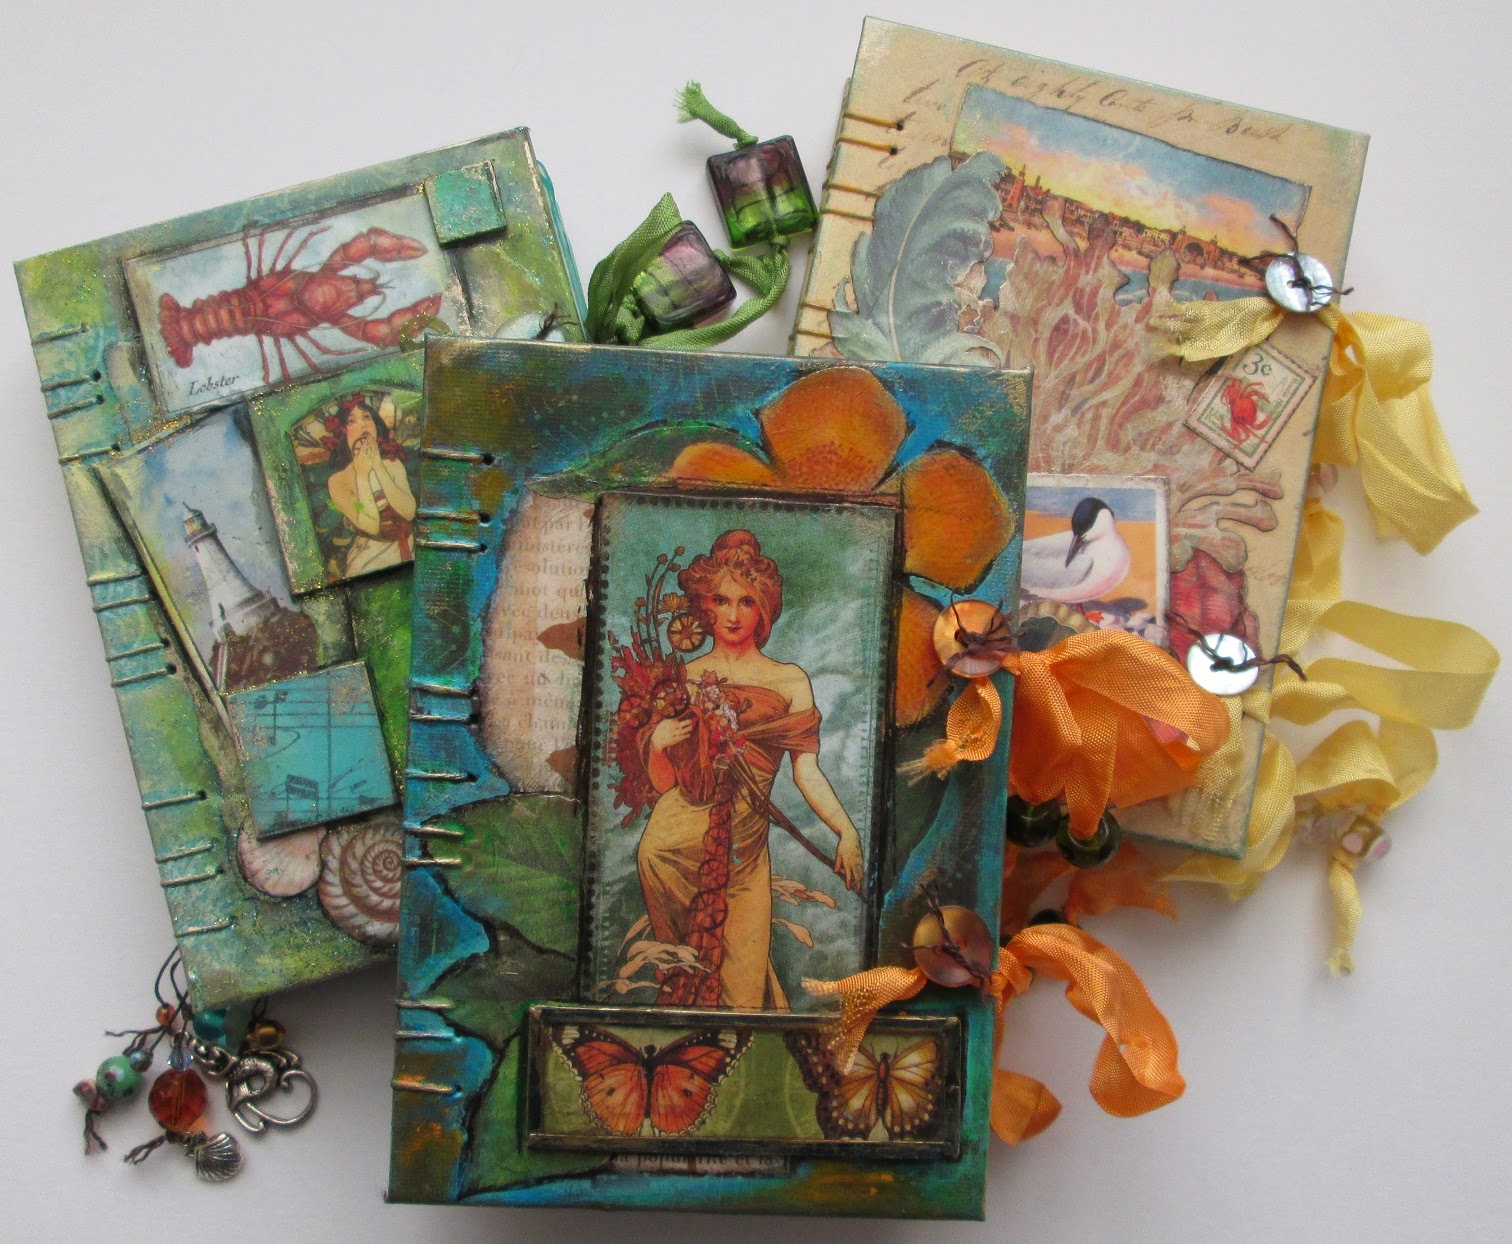
I love to make my own books and journals - you can see a few of them HERE. I'm currently working on some new ones so that I can re-open my little Etsy shop next month - here's a preview of some of the latest offerings:


I like to make jewellery - basically as an excuse to hoard pretty beads (a lifelong obsession!). This year I'd like to advance my skills and learn some new metalwork techniques, but for now here's a little glimpse at what's on the work desk:


I love to doodle - it calms my mind and helps me to relax. I tend to theme my doodles in each book or journal...they'll never win awards but they make me happy! Here are a couple of my recent journal pages:

http://artyshroo.blogspot.co.uk/p/pen-ink.html

http://artyshroo.blogspot.co.uk/p/pen-ink.html

I also like to illustrate the variety and beauty of the wildlife that shares this planet with us. You can see an example of my pen & ink work HERE, or click on the picture below:

http://artyshroo.blogspot.co.uk/p/pen-ink.html

I love books and poetry and love to incorporate elements of them into my work, whether it be quotes,

http://artyshroo.blogspot.co.uk/p/panoramic-journal-pages.html

http://artyshroo.blogspot.co.uk/p/gallery.html

 character illustration,


http://artyshroo.blogspot.co.uk/p/blog-page_1479.html
Aslan - The Chronicles of Narnia by C.S.Lewis

 or pages of the books themselves added to my paper collages...

http://artyshroo.blogspot.co.uk/p/blog-page_2.html

http://artyshroo.blogspot.co.uk/p/blog-page_2.html

So that's a bit about me. Coming up here in the next month will be some book making & bookbinding tutorials, suitable for anyone to try. You can find my last bookbinding post HERE, and for now here's a sneak preview of one such upcoming post-ette:


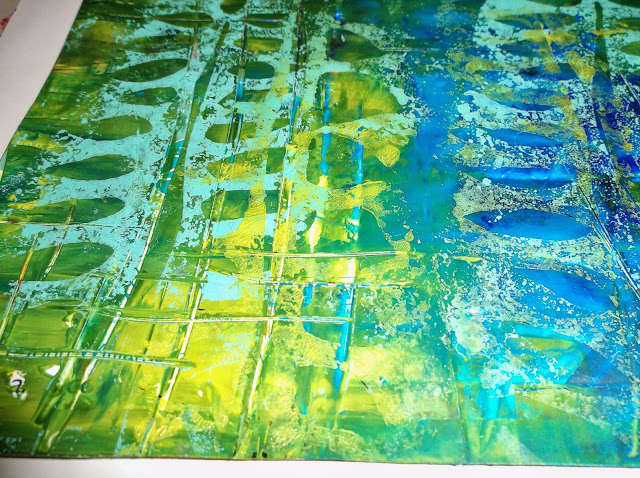
There'll also be some thoughts about and ideas for making altered art on a budget. Here's that sneak preview thing again! -


I'll be talking about how I use art and colour to help me cope with the ups and downs of life. I want to talk about public and private art, our insecurities and how to - hopefully - overcome them. Here are a couple of bijou hint-ettes at what will be on show...


I'll talk about supplies - my must-haves, my recommendations and top tens! (who doesn't love a list?)


 - and you can witness the perpetual horror that is my workdesk!


I'll also be blogging about crafting on a budget and about making your own unique elements:


Yep - there's quite a lot lined up to take us through the rest of January and right through February. You'll have to put up with my ramblings, but you can always do what The Colonel does and bury your head in a blanky and snore 'til I shut up!! (That's HIS recommendation anyway!)

It's so awesome to see you - I'd LOVE it of you'd add your epic self to my list of blog followers, and/or to my circles so that you'll be the first to be updated on new posts. Please leave a comment - I'll do my best to reply to everyone and I'll be visiting your blog asap!

I'd like to thank Vicki at '2 BAGS FULL' for all her inspiration and hard work. Enjoy the rest of the party! Love and hugs from Shroo :) xxx


Friday, 29 November 2013

A Pheasant Day Out! -Challenge Response Journal Page

Iiiiiiiiiit's Friday!!

Another weekend peeking just around the corner AND the first day of December nearly here too!  I guess it's time to haul out those decorations and make our houses twinkly again!

Speaking of twinkly (awesome segue there), I had the awesome opportunity for a lovely day out with mum this week. What with her being poorly and me STILL trying to beat my agoraphobia it's not an everyday occurrence that we both get outside the house for long. We had a fabulous day at a local garden centre (which is ENORMOUS) looking at all the shiny decorations and festive displays. We had a yummy meal in their restaurant, and bought some homemade jam and treats from their farm shop. It was dark when we left, and the centre have decorated ALL the trees thereabouts with flickering lights - so pretty! Stupid me hadn't taken my camera - I will next time though!

The roads to the garden centre are surrounded by beautiful English countryside, which was blazing with the colours of autumn. Incredible shades of orange, yellow and red against a turquoise sky and bright greens of lasting leaves fluttering in the breeze. Driving along the lanes, it struck me just how lucky I am to be able to enjoy this view, these colours ... the brightness of the sun and the chill of the pre-winter winds and the variety of wildlife, out finding food to help them survive the worst of the winter to come, all in the company of my mum competely and epically awesome.

The challenge this week on Inspiration Avenue is to express 'gratitude' through art. It's hard sometimes, when life sends constant avalanches of lemons to remember how good lemonade really is... There's so much I'm grateful for - family, friends, my kitty cat, music, colour, art and life - it's hard to choose just one image to express it all. But traveling down those roads, surrounded by the colours and bounty of nature...well, that's a feeling that sums it all up for me, so I chose to represent the view as my answer to the challenge.

This time around I remembered to take some process pictures to show you - I hope you find them useful!

I wanted to draw a pheasant standing in bracken - an image that encapsulates the colours and the overall feel of this time of year in the place where I live. Because I wanted the colours to be extra bold, I selected my Derwent Inktense pencils for the task as they're so heavily pigmented with bright, bright inks that they really POP when water's added. I sketched the rough shapes of the pheasant and the surrounding bracken and added some colours roughly just to block the areas in nicely:


There's very little pencil used. Inktense are inCREDible - they're available as pencils or just bars of pigment, and both are exceptional. I added a few layers of colour, but didn't blend them as the water would do that for me.


Ta-dah!  You can see how, by just adding water the colours become incredibly bold and dramatic.  I used the pencil tips like a paint palette (just dabbing them with the brush to transfer colour) to add a little depth in areas and just alter colours here and there to achieve the strong image I had in mind.


Inktense colour sets fast once it dries so it's important to work quickly. It does, however, allow the artist to add colour in layers, which I like a lot. Now, to add some more colour detail, I broke out the Neocolor II solluble wax pastels. They combine BEAUTIFULLY with practically ANY medium and are gorgeous to use with Inktense. Again, I used them like a palette, transferring colour using my brush, rather than using the pastels directly on the paper. This allows for greater precision and also stops drawing lines from marking the paper. I also added some layers of bracken, working in light colours first, then incrementally darker - representations of the leaf shapes rather than detailed botanical illustration, because I want the pheasant to stand out more than the surroundings.


To add more colour and texture I used my Tattered Angels Glimmer Glaze, both by painting it onto the green/blue areas around the bird (colours:Waterfall & Wicked), then by splattering it over the bracken surround (colours: Mellow Yellow & Orange Crush). I heat dried the glaze to make it bubble as I wanted to really build up a texture that would represent the rough look and feel of the foliage.

Once that was done I wanted to add some definition and detail with my gel pens. Because Neocolor II's are wax-based pastels, they're a little tough to draw over, so I added a layer of satin lacquer as a fixitive, which had the added bonus of making the colours slightly brighter. Also - it's handy if I mess up or change my mind as the pen can be wiped off easily with a baby wipe without affecting the image beneath. It's a personal preference, but I really like the feel of the page once the lacquer's added as well. Yummy.


I added detail first with a Uni Ball 0.38 gel pen, then a 1.0 white gel pen, then when I was done I highlighted the lumps and bumps in the glaze with Treasure Gold gilding wax, adding more at the edges of the page to reflect light as the sun had done when we'd driven down that country road.  I also added a couple of lines of poetry which I felt were ideal for the page. You can see the wonderful texture of the bubbles -


You can also see the BEAUTIFUL depth of colour that Inktense pencils and Neocolors can provide:


I'm really happy with the finished page - it will always remind me of a really lovely day out - I really enjoyed painting it too:


I'm linking this post to the challenge at Inspiration Avenue. The people there are both talented AND lovely - very welcoming and encouraging. Head on over and have a look at some of the amazing art that's linked to the challenges - you'll LOVE the blogs you find as a result, I promise!

As always - thank you so much for visiting! Please leave a comment if you would like to, and if there's anything you'd like me to blog about - techniques, products, inspirations...- just let me know.  Thank you to all the lovely people who send encouraging and supportive comments - you're all just completely gorgeous! Here's to a great weekend for all of us! Love and hugs - Shroo :) xxx

*

Wednesday, 2 October 2013

Arts & Crafts For Free!

Hello you!


I know you can't tell from reading this but I've been sat here with a blank post screen for half an hour because I chose some background music to type to and ended up being whisked away as always by its awesomeness and beauty, the sounds creating a whirl of colour in my brain that just has me grinning like a complete eedjit whilst getting absolutely NOTHING done! *sigh*  If you want to know what I'm listening to, it's Mendelssohn's violin concerto in E minor, played exquisitely by Janine Jansen and the BBC Symphony Orchestra....and if you wanna listen, please feel free to click the pic below which will take you to the Youtube video -


Aaaah.... So cultured...so lovely..... unlike YESterday, which was a Bon Jovi day..... Don't judge me!!

So - few posts over the past few days, and you have my apologies - I've been mahoosively busy again with not much time for blogness, but this will be a post with many piccies for you to look at in order to make up for my abandoning you for so long!

I did that thing again... you know - that thing where you have NO money AT ALL but you still go looking at all the lovely new releases from the craft companies and create a 'wish list' so big that you'd have to harvest kidneys in back alleys for at least a month to drum up the revenue to cover it? Yeah.... *Pffff*... That can leave you pretty glum, I can tell you. However - there are two excellent antidotes to this paper-withdrawal malaise. Well, three, if you include a huge glass of wine! First one is to get up, go to your paper stash, and hug it. Properly hug it. Any craft stash is bound to be hoarded and neglected and I guarantee we all forget how much lovely we have collected in piles on shelves or ferreted away in boxes. Of course, in reaching your cherished stack of paper awesomeness, it helps if you can actually see the floor or carve a path through the untidy heap that your studio/craft room has become. Let's face it, no matter HOW conscientious you are, all it takes is half an hour's quick card-making, or paper cutting or some such activity, and the room will look like you've just set off a bomb in there, creating an arty apocalypse that requires heavy-duty climbing gear and three dedicated sherpas just to find where you put the scissors. I KNOW it's not just me....admit it, we all exist within a delicately balanced and fragile paper-based eco system, prone to collapse at any time. So yes, I did some tidying. And some re-organising. And the odd tiny-yet-painful errant glass bead embedded in the sole of my foot. But there's some signs of organisation - and ALMOST....ALMOST a clear space on the table!


See? Shelfy neatness! Old gift bags are a pretty and easily-accessible storage method. Boxes can be such a pain sometimes. I much prefer the bags, or the stackable, click-top stackable boxes as they're cheap and don't keep toppling over.  Notice there are no long shots of the whole room....we're not there yet. Curb your ideas of efficiency and decisiveness as they seldom make an appearance at times like this. Lots of faffing about and being pernickety. Lots of that. Lots.

Righty then - now I've got space, a modicum of some semblance of order, and some reassurance that I DO have a whole heap of carefully hoarded crafty stuff that will at the very least tide me over for the next three hundred years OR until I win the lottery and buy a castle, fill it with art and craft supplies and install a bell-jar with a floating rose in it in the west wing and pretend I'm a Disney princess. Or a talking wardrobe.... Depends on the mood.

Now for antidote #2: Make something pretty and useful out of very little to reinforce the idea that it's CREATIVITY that's important, not mass-produced over-priced hype. And is it my imagination, or have all the prices gone up AGAIN, especially on embellishments and such? Maybe it's just here in the UK...things always seem so cheap over in the States as they have those cool stores like Michael's and the like.  Here's an example: I noticed that a UK seller on ebay is selling the 12"x12" K&Co Engraved Garden paper pad for £35!  Seriously? They're on clearance in the States at the moment! And there are a number of DCWV stacks listed at £50!! I mean - how desperate would you have to be? Surely that's immoral? It's PAPER - PAPER! There are people in the world who can't pay for food or clothing.... (ha - me for one!) ...and £50? For PAPER?  Enough.....

I've said it before and I will again...and again - you can make something beautiful and satisfyingly arty from pretty much nothing if you just think outside the box and don't get caught up in following all the 'must-have' gimmicky mass-produced STUFF that's out there. And I'll prove it. Now.

In my self-tormenting trawl through craft sites, I found myself drooling over some of the newly released stencil designs. Some of them are so lovely. I only have four or five stencils - all of which I picked up cheaply from an ebay seller who cut them himself ....£1.25 each for a 5"x5" stencil instead of the £5 for a comparable branded version. But I think stencils ARE worth the have...they are versatile and fun and you can get a hell of a lot of use out of them. But when you can't BUY one...? Well - the answer is to MAKE one! Not hard to do. All you need is some decent quality plastic or acetate, a sharpie marker, a pair of scissors (I highly recommend investing in a pair of Tim Holtz's craft scissors from Ranger - well worth it) and a sharp craft knife. Oh - and a little patience! Simply draw (or copy or trace) out the design you want on the plastic/acetate and start cutting - slowly and patiently.  I used an old plastic photo sleeve (a floppy but high-grade soft plastic) and in under an hour I'd cut these stencils:


...shown here in the process of cutting them.... and these:


These are a bit painty, as when I took a non-painty photo you couldn't see them!  Honestly not hard to do. If you have trouble gripping craft tools, or cutting precisely, you could try using any punches you have to make stencil patterns, or keeping an eye out for packaging or other items that could be used to create stencilled designs.

Once made, I wanted to play with them. To prove my point to myself about not NEEDING pre-printed product to make something I like, I decided to use discarded or waste items only - earlier posts will tell you how much I like doing that - to make a little journal/art book. For the cover, I picked out the back cover of an old DCWV stack and a piece of paper there for using up excess paint and stuff when I'm working - 


This sheet had these lovely stencilled raised patterns made with excess tinted modelling paste- yummy! I cut the cover so that when closed the booklet would measure 18cm x 12cm and covered the card using a glue stick to adhere the paper:


Quick and easy.  The pages I made from glossy junk mail pages cut to size:


Not bothered that some are crumpled - more texture!   I picked out some acrylic paint tubes that I had from a store here in the UK called 'Wilkinson's' (or 'Wilko's') - about £1 each. It's a very glossy, sticky acrylic, so not my favourite, but when it dries it has a latex-like feel to it and can produce some nice texture effects. I added a few chalky cheap craft acrylics that needed to be used up and picked two ink pads for variety. Tools used were a 3/4" paint brush, an old plastic gift card as a scraper, a cut-off piece of old bath sponge and a make-up sponge:


I also added some of the lovely lovely LOVELY Treasure Gold gilding wax, which is fabulous!  Obviously, if you're going to make a similar project, pick out whatever you have from the supplies you have available. 

I covered the junk mail pages with colours using a variety of techniques - brush-painting, finger-painting, scraping and stippling, dried them with a heat tool (or *ahem* hair-dryer) then used the sponge to stencil designs on almost all the pages in contrasting colours:


For projects like this, I'm not really bothered whether the paint completely covers the original page image. It's not everyone's cup of tea, but I really like to see layers - I think it adds a lot of interest to the final design. 


Just for fun I chose to cut one of the pages into a leaf shape. I made it a bit of a stretched leaf shape so that when bound it would give space to journal or decorate.


Once the pages were all finished and dry, I stacked them together and bound them inside the cover with a simple three-hole pamphlet stitch, using waxed cotton thread - easy-peasy!


I didn't spend much time planning colours - just had fun slappin' them on the pages! I wanted a truly free and organic feel to the booklet once it was done and I was happy with the result:


As for the cover - I made some leaf embellishments from stencilled paper and added a layered flower I'd made from scraps a while ago :


...added a simple tie fastening and a few recycled glass beads and paper beads to embellish and:


...one book! Nifty little booklet all pre-painted ready for photos, journaling, embellishment, or whatever!

A happy, happy project. It took roughly four hours to make the book from start to finish and was completely relaxing and fun. At the end of it I had, once again, completely exorcised my hankering for shiny new craft stuff and reinstated my arty mojo.

As an artist, it's not always possible to just draw or paint or make whatever you want - if you're working to a brief or commission it's restrictive a lot of the time. Now and again I need to just make something just for the sheer hell of it! I think because my main body of commercial work is in black and white, it explains why my 'fun' art and my art journaling is so bold, with bright, strong colours. It's an antidote. To pretty much everything!

Project - fun! Cost - nothing! Eco-friendly happiness.

Ok - time for me to head back to work stuff and maybe buy a lottery ticket !  Hope you're all inspired by something awesome this week - may the muses be with you! Love and hugs as always - Shroo:)xxx