Yup - I know, I've been away... been taking a break from all things blog 'n' Etsy for a few weeks, focussing on the necessities of life and getting things in order - and I feel a lot better for it! I am sorry for being absent though - I had blog guilt at first, until I remembered that it's kinda MY blog so I suppose I make the rules... It WAS good to take a proper break and I know you'll understand!
Aside from stress management, the added bonus of achieving some degree of life-organisation is that I've had some time to journal and to MAKE stuff, which I haven't really felt like doing in a while. I have a stack of hand-made journals ready to load up on Etsy, and another batch just about done. Here are a few teaser photos -


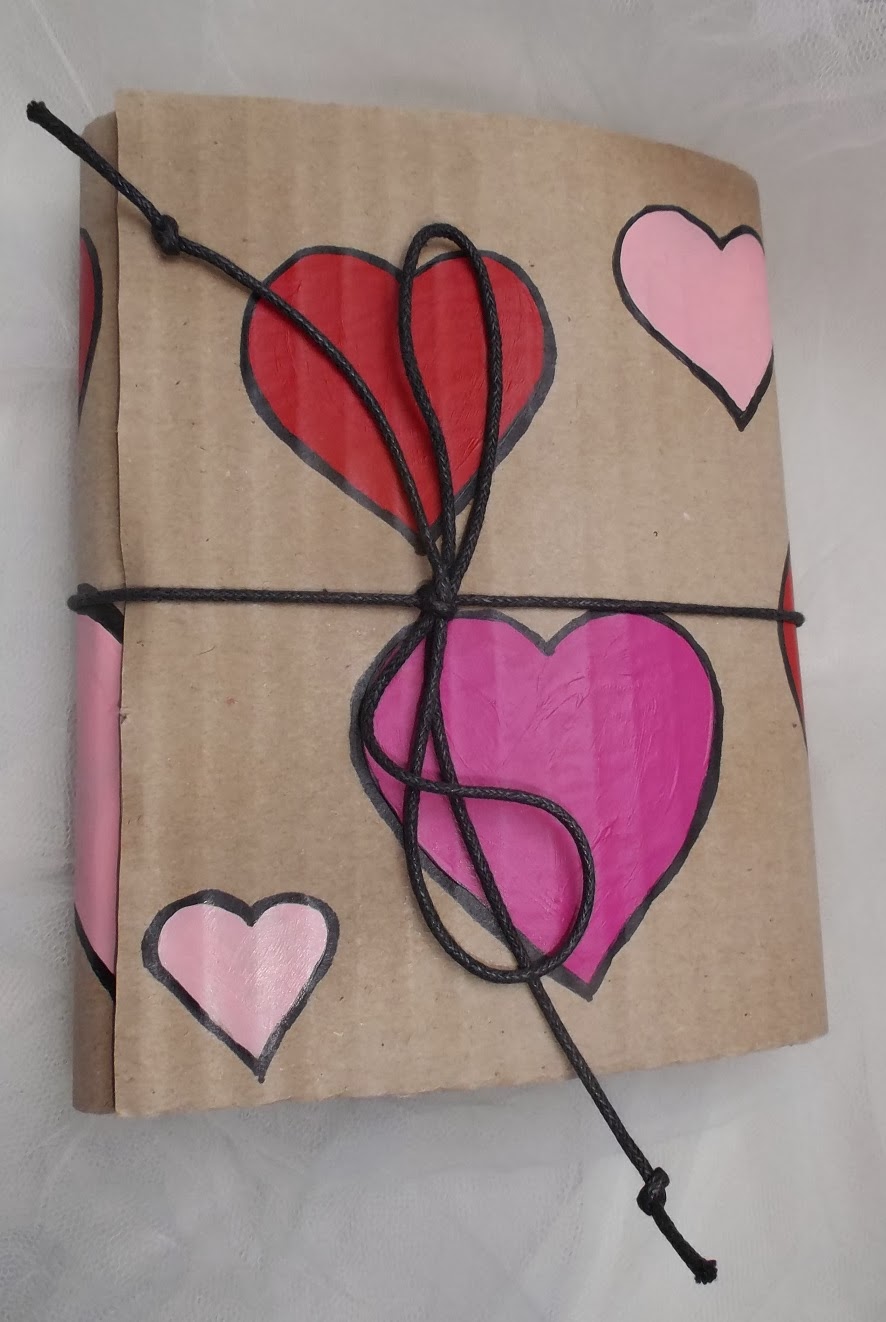


...so I've not been idle! I find that journal-making's a good way for me to step back into the art world and it's really quite relaxing. It's not that hard to do, really: if you've not tried making your own book, why not give it a go?
That brings me to the second part of this post. I had a lovely email from a wonderful blog reader the other day. She has a collection of sketches that she wants to bind together, but was stuck for ideas and needed some help. I was more than happy to pass on a useful (and versatile) binding solution, but as it was hard to just describe it without a truly insane amount of rambling, I figured I'd take the 'actual example' route. I've not done a tutorial in a while so I grabbed the opportunity to take pictures for you as I went along... I hope you find them useful! Here goes:
Stitched-in Binding Tutorial
For this project you will need:
- An old hardcover book that you're willing to chop up
- Some extra book covers or heavyweight card
- Your sketches, or some of your favourite art papers
- Sewing/binding materials. For example: waxed cotton thread, ribbon, embroidery/decorative thread, a variety of yarns (off-cuts will do), wire, or anything you prefer and can lay your hands on
- Glue, glue-stick or double sided tape (if you don't want to sew)
- Painty things - your choice!
- Shiny decoratey things, buttons and/or beads!
- Large-eyed needle, possibly an awl or pokey tool
- Hole punch or Crop-A-Dile
- A ruler
- A craft knife (optional)

This technique is especially useful if you have a collection of finished loose pages that you want to bind together. For the sake of this journal, I chose a stack of leftover papers of varying weights and textures -


You'll need to decide how you want to insert your pages into the book - you can use glue-sticks, wet glue, double-sided tape, string, ribbon, thread, wire..... it's up to you. Here's my selection of thready things:


Ok - now to begin. Tear a few pages carefully (or measure and cut straight with a craft knife if you prefer) about 1.5" from the spine -

I likes the wiggly lines! The weight of the page paper kinda indicates how many you should use for each insert. I chose four - two torn pages either side of the inserted sheet, like this -

Got it? Easy! If your book pages are really thick and glossy - like many children's books - you may only want to use one page either side of your insert. Likewise, if the pages are really thin or fragile you may want to add a few extra just to be safe.
Now you can either glue, tape or stitch in your pages. Up to you! If you choose to sew, you can be uber neat with your stitching, or just ... go for it! Choose the style and look that suits you and your work. If you're not confident with sewing, a simple running stitch will still do the job nicely...

Play with your stitches as much as you want to - add different coloured threads, then tie them off top and bottom so they don't slip...


One page done. Now go ahead and enjoy yourself. Remember you can use anything you like to decorate the fixer sections, and thread ribbon through the stitches for some nice texture effects. Here are some of my finished pages, coloured up with acrylic paints, Derwent inktense pencils and Caran D'Ache Neocolor II soluble wax crayons (incidentally the same media used to colour the pages.)


Sequins and ribbon and gold paint, oh my! Shiny, shiny... plus doodling fun. Now - I LIKE the more random, squooshy colours, but you can be more precise if you prefer. This is THE most versatile binding ever, and really, REALLY easy as you can just adapt it to your skill sets. No pressure, all fun!
* * *
Project idea:
You can make some full page spreads with your favourite photos, then bind them using a book that has some significance to you and your family. For example: use some photo spreads of your little ones in their jammies or with cuddly toys, along with some of their paintings and drawings, cuttings from their out-grown clothes or blankies etc and bind them inside their favourite story books. It's such fun, and unlike scrap-booking, there are no rules! You can adapt the binding methods and simplify them so that your kids can join in with the project. It's a great way to make and store memories. As an extra tip - bind in a couple of blank pages so that you can journal at a later date, or add ephemera as and when you find it.
* * *
Aaaaaaaaaaaaaaand back to the tutorial.....Now for the cover. The book I chose here is way smaller that the paper pieces. It's the right height, but too short to cover the longest pages. Problem? Nope! The cover can be extended as much as is necessary by adding more pieces of heavy card or, as in this case, another similarly sized book cover (from that hoarded, mahoosive stash), like this -

I measured out a series of points which I punched out with my trusty Crop-A-Dile, leaving to lines of small holes. To join them together, I chose some waxed cotton thread which I laced through the holes like I'd lace up a shoe.


Then I pulled them tight enough to keep the pieces together, but not so tight that they'd overlap...

You can choose your own style - whatever suits you. You can always use fabric instead card (and, incidentally, you can use the inside binding technique for fabric pages, tiles or plastic too, although for some materials you may need to pierce holes with a pokey tool or awl before you stitch or tie them in. Be inventive!). You can also use multiple pieces so that your cover is a work of art in itself, full of movement and shape.
To decorate the cover, I tied ribbons and yarns around the waxed cotton and added some beads and buttons....well, because I wanted to!


I painted the cover canvas with acrylic paints, dabbing some away with a baby wipe so that the original colour would show through - make it look more rustic. Then I splatted some lovely Winsor & Newton gold ink and added way more foofy lovely ribbony goodness -


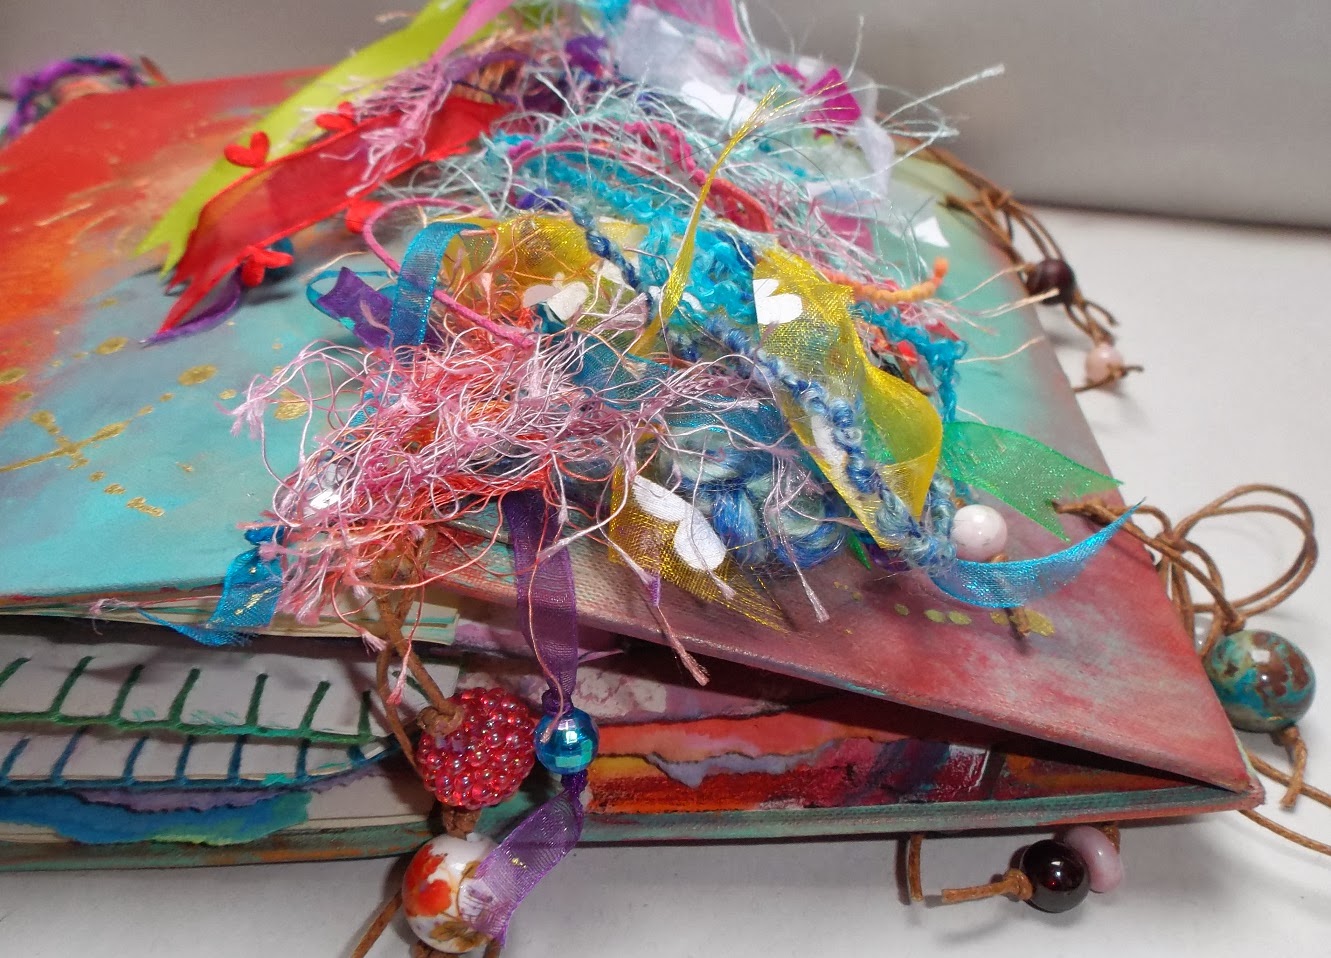


This style of cover really allows for some interesting display if you feel like making more of a feature of your work by presenting it proudly for people to admire. Add whatever fastening you prefer... I chose a simple tie fastening, adding some lovely agate, pink opal, garnet and sea jasper beads to finish it off nicely.

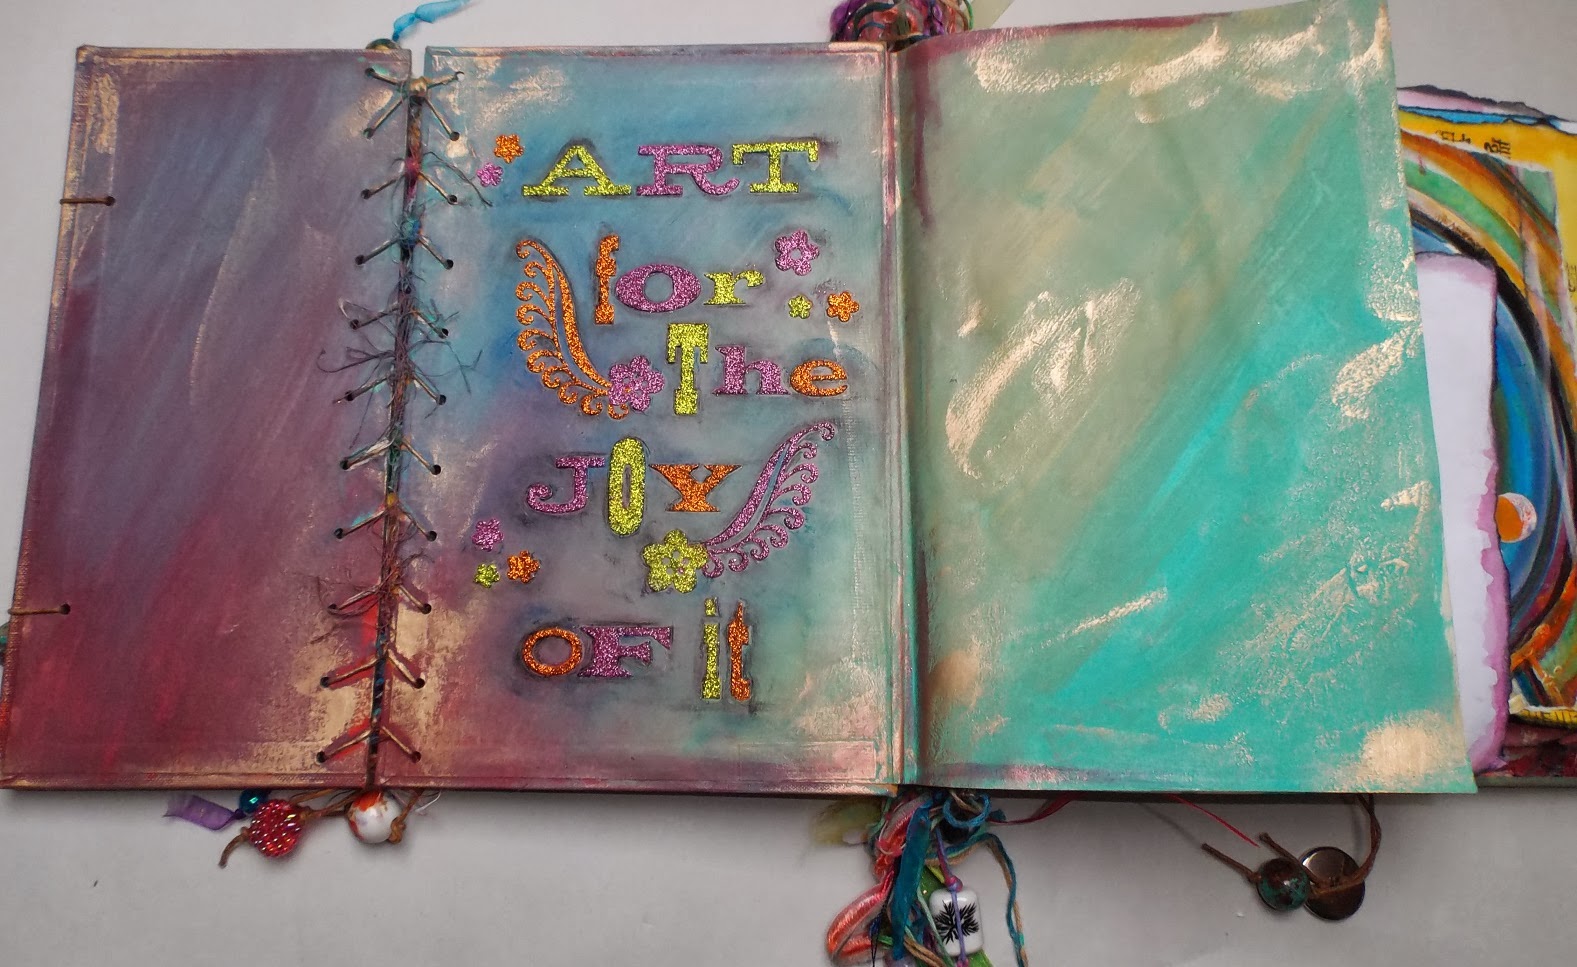
I also added a little reminder inside the front cover to have some stress-free fun with art:

...then found a couple of old doodly sketchbook pages to tear up and glue into the book, adding some extra colour and shape to some of the pages -


Inside back cover -

I kept a few of the original colour plates in the book, just blanket stitching them together. I may paint over them at some point, but I like that they're there...

Here are a few more pictures of the finished book -



And that's that! This is SUCH a fun and easy technique. You don't have to go and spend a fortune on branded products, just root around your craft stash and maybe visit your local charity or goodwill store if you need to pick up an old book. It makes a change not to have to spend a small fortune in order to complete a project, and I promise you'll enjoy it.
I hope I explained that ok - if you have any questions please leave a comment or email me at artyshroo@gmail.com and I'll get back to you asap. I'd love to know if any of you give this a go - or maybe have already done this? That would be awesome. I'd also like to take the opportunity to thank Emily for contacting me and for giving me something to work on! You little star you!
Sending hugs out to all of you in the blogosphere! See you soon - Shroo :) xxx
